Model Review
Friday, February 9
This prototype was not functional. We quickly found that the mold wouldn’t be reusable, and that what hot glue we could extract was not going to be in the shape we wanted. From this, we learned that removing a piece as small and intricate as a socket would be far too difficult, and that the extraction process would likely create shards or plastic dust that would be dangerous in the closed environment of the ISS. As a result, we changed our approach and decided to try to create a 3D printed shell that could be strengthened with epoxy.
Monday, February 19
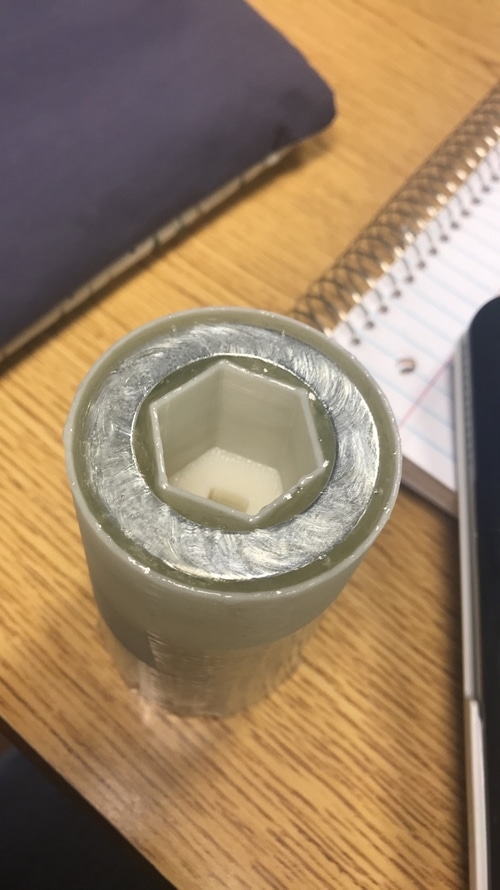
This was our first functional prototype. Due to the nature of creating a shell that we would strengthen, we had a working prototype straight off the printer, however we needed to learn an effective method of implementing epoxy. We found quite a few wrong ways to put the epoxy in the mold, and this cause holes and gaps in the epoxy.
Thursday, March 1
This prototype was the same design as the previous, however we improved on our technique of putting the epoxy in the mold. We learned that the basic design was flawed, and we could improve this by creating more space between the outer wall of the hexagon and the inner wall of the cylinder. Furthermore, we decided to go away from the two part approach to our molds as this simply added complication to the specific design of a socket. This could easily again implemented to serve the needs of another tool.
Monday, March 19
Prototype 4 was the easiest version to make. The large size allowed for ease of epoxy injection and rebar insertion. Although this version was easy to work with, there were flaws in the actual mold. The 3D print did not extend the square cutout all the way through the mold. Regardless of this, the mold proved successful in showing that metal inserts could extend the structural stability throughout the entire entity.
Wednesday, March 28
This version ended with a few problems. For one, there were no readily available washers that would fit in this, and therefore we instead had to use the less elegant solution of paperclips. Understanding that washers and paperclips will not work in many other tools that could use this method onboard The ISS, we will be searching for a more robust solution to reinforce the filling agent. Furthermore, we may look to a stronger filling agent such as fields metal in order to strengthen the system, and prevent air bubbles.


